How to Do Voice Over Like a Pro
When most of us think of great video voice overs, we probably think of great actors like Morgan Freeman or James Earl Jones. We tend to associate voice over with having a great voice. And, while that can help, it’s not necessary. In fact, with practice, nearly anyone can do professional-quality voice over work.
Great video voice audio over comprises several elements:
– Audio clarity and volume
– Pacing
– Vocal tone and inflection
– Pronunciation
1. Audio clarity and volume
The clarity of your voice and a comfortable volume may be the most essential parts of great audio. If your voice over recording is fuzzy or muddy sounding, it will be difficult for people to understand. Audiences will be distracted and unable to absorb the information or may simply move on. Either way, they miss your message, and you miss an opportunity to share your knowledge. Similarly, if your audio’s volume is too low, it may be difficult for people to hear. Too loud and you risk annoying distortion. Luckily, there’s a solid sweet spot for volume. See the section on recording your voice over for more information on audio levels.
2. Pacing
Ever talk with someone who has an exciting story to tell, but they’re so excited about it that they rush through it and when they’re done you can’t even remember what they were talking about? Or someone who drones on and on with no end in sight, threatening to put you to sleep? This is pacing. Too fast and your audience won’t know what hit them. Too slow and they’re likely to get bored. The best voice overs have a natural and deliberate pace. Start with a script and practice it before you record to help you speak at a more natural pace. And remember, pacing also includes things like pausing occasionally to take a breath, for effect, or just to give the listener a break to process important information.
3. Vocal tone and inflection
Pacing, vocal tone and inflection refer to ensuring you speak in a natural and pleasant manner. You want to be friendly and engaging, but not so much that you sound fake. No one wants to sound like a game show host. But, you also want to avoid monotone robot voice which, like pacing that’s too slow, can be boring and off-putting for listeners.
4. Pronunciation and enunciation
The final element of great voice over work is ensuring that you pronounce each word correctly and that you speak clearly enough to be understood. Avoid mumbling — but don’t shout or over-enunciate, either. Be mindful of your regional accent (yes, we all have them) and pronunciations as they relate to your audience. While it’s perfectly acceptable to “warsh” your hands in Missouri or have a great “idear” in New England, those pronunciations may confuse people from other locations. Don’t worry, though. No one expects you to sound like a professional voice actor. The best thing you can do is speak naturally and clearly and the rest will follow with practice.
Preparing to record
Not all videos need a ton of preparation. Quick one-off screencasts or a fast demonstration of a new user interface for a colleague probably can be done mostly on the fly. But, for videos where you want a more polish or that need to cover more information, a bit of preparation goes a long way.
Find a quiet place to work
I’m sure you’ve seen what a typical recording studio looks like. Professional voice over artists typically have a room somewhere with walls covered in sound-absorbing foam, a fancy microphone setup with a pop screen and a computer workstation that looks like it could be straight out of NASA’s Mission Control.
Luckily, you don’t have to go that far to achieve great results. You can create a great voice recording space with minimal effort and very little expenditure. Most importantly, you want a space free of distracting noises and where you aren’t likely to be interrupted. Most decent microphones pick up even faint ambient sounds, and those sounds will ultimately make it into your recording. If your space is at work, avoid areas where you can hear your coworkers conversing, etc. Or plan to record when no one else is in the office. Wherever you are, be mindful of the sounds of your heating and cooling system. If you can’t find a spot where you can’t hear air rushing through your ducts, you may want to shut down your furnace or AC for the duration of your recording.
If your recording space is near a window, listen for sounds from outside, such as wind, birds chirping, dogs barking, etc. Be especially mindful of traffic sounds — especially loud delivery trucks. They will show up in your recording.
No place is totally silent, so find the best place you can — even if that means thinking outside the box. I have a friend who regularly records his podcast in his car. He lives in a small house with dogs and kids, so there really isn’t anywhere else quiet enough. He takes his laptop and mic out to his driveway, shuts himself in the car and records. The results are surprisingly good!
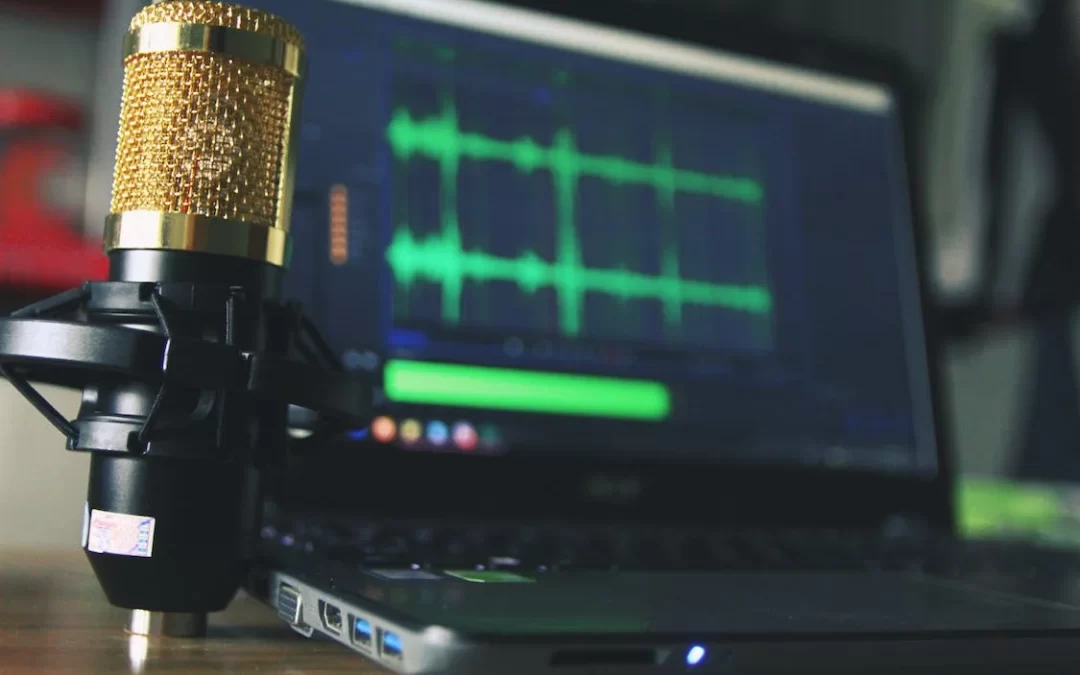
Choose a microphone
Next, you need a decent microphone. I won’t go too in-depth with
this, but my colleague Matt Pierce did an amazing post on choosing a good mic. That said, if possible, try not to record your voice over using your laptop microphone. While built-in mics are fine for Zoom meetings and the like, you will get much better results with even a low-cost external microphone. Even your smart phone’s earbuds will give you a better sound than just your computer’s built-in mic.
this, but my colleague Matt Pierce did an amazing post on choosing a good mic. That said, if possible, try not to record your voice over using your laptop microphone. While built-in mics are fine for Zoom meetings and the like, you will get much better results with even a low-cost external microphone. Even your smart phone’s earbuds will give you a better sound than just your computer’s built-in mic.
Do a test recording
Now that all the essential tools are in place, it’s time to record your voice over! Before you get down to the real thing, though, do a test recording to ensure your equipment works properly and your audio levels are good. Even if nothing has changed from the last time you did a voice over, it’s still a best practice to test first. I’ve skipped this step myself and then discovered after my recording was finished that something wasn’t set up properly and I had to go back and do it again. You don’t need to record the entire script for your test recording, but a few paragraphs will give you enough to ensure that the audio is clear, at an appropriate level, and doesn’t include any stray or ambient noises.
Important: When you listen back to your test recording, use headphones to check the audio quality. Your computer speakers will not be good enough for this. Headphones allow you to listen closely to ensure clear audio — especially for things like weird room noises and such. Obviously, you want the audio to sound good on even the cheapest speaker, but you (and your audience) will be much happier if you use headphones to check for quality. Remember, a good portion of your video viewers will listen via headphones, so you want to be sure they’ll have an optimal experience.
Microphone placement
You also want to consider where to place your microphone. Too
close to the person speaking and it will be subject to all kinds of
close to the person speaking and it will be subject to all kinds of
weird mouth noises and air puffs. Too far away and it may sound
lost in a large room. Ideally, place the microphone about six to eight inches from the person’s mouth, and slightly below their chin.
Be mindful, too, of the surface where you place your mic. Some microphone stands will be quite susceptible to picking up noises from the desk or table they’re sitting on. Listen for those types of sounds on your test recording.
Be mindful, too, of the surface where you place your mic. Some microphone stands will be quite susceptible to picking up noises from the desk or table they’re sitting on. Listen for those types of sounds on your test recording.
Audio Upload
When you are done recording make sure you save the file on your computer then upload it on the video upload page in your Townsites dashboard. How’s it feel to be a voice over pro? Recording voice overs like a pro is easy when you know how to do it and you have the right tools. Taking the proper steps before you hit the record button and then taking the time to edit your audio appropriately will go a long way to ensuring your voice overs sound professional and engaging. And remember, practice makes perfect! The more you do it, the more natural it will become.